 donald
Install the Kasa Smart Light Strip by first downloading the Kasa Smart app and creating an account for seamless integration. Connect your light strip to any standard power outlet, ensuring placement where it maximizes ambiance. Use the app to sync the light strip with your Wi-Fi network, following prompts for a straightforward setup. Secure the strip to your chosen surface using the adhesive backing, cutting or extending segments to fit your space perfectly. Customize scenes and schedules through the app, optimizing settings to enhance your environment. For more ways to elevate your living space with cutting-edge smart lighting, explore additional features and options.
Understanding Smart Light Strip Features
Key Features and Benefits
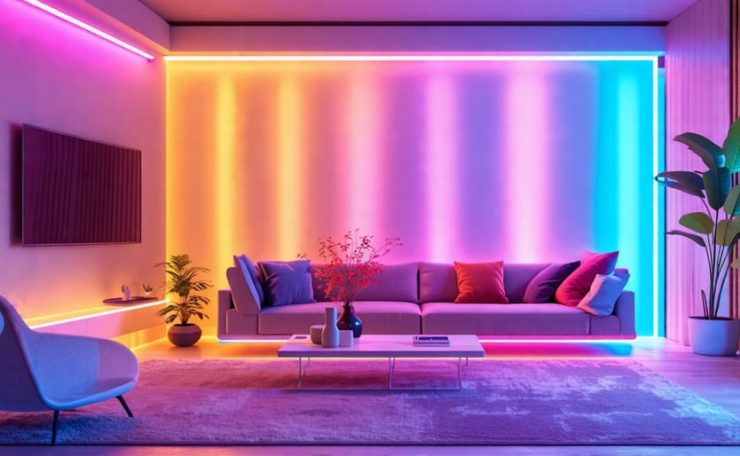
The Kasa Smart Light Strip offers a versatile and dynamic lighting experience that elevates any space. With its adjustable brightness and an extensive color range featuring millions of vibrant hues, users can create the perfect ambiance for any occasion. Whether you’re prepping for a dinner party or seeking a calming environment, these light strips adapt effortlessly to your mood and setting.
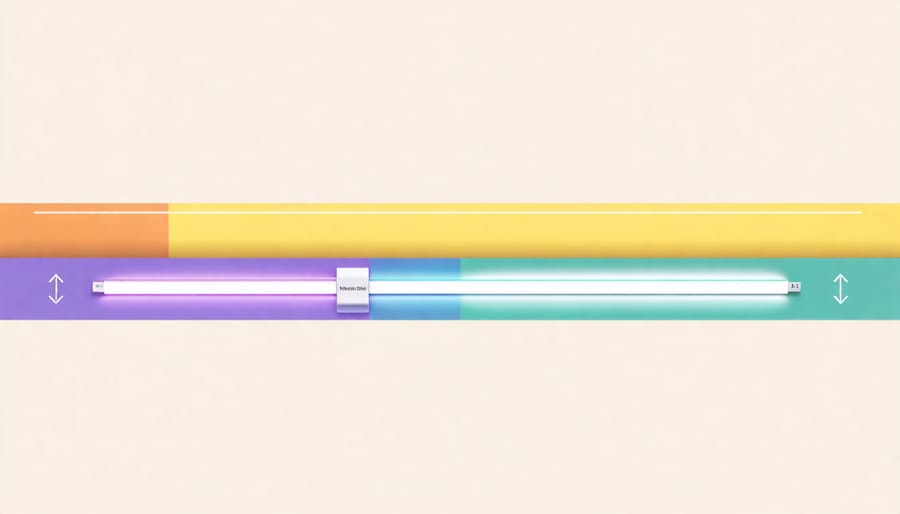
Seamless connectivity is at the heart of Kasa’s design, allowing full control via the Kasa Smart app. Easily adjust settings or set schedules from your smartphone, or integrate with popular voice assistants for hands-free operation, making smart home management both intuitive and accessible. Furthermore, the light strips are highly customizable, enabling you to cut or extend them to fit specific spaces, ensuring a tailored fit for your unique requirements.
Ideal for illuminating kitchens, bedrooms, or even commercial venues, Kasa Smart Light Strips provide energy-efficient lighting, ultimately enhancing aesthetics while reducing operational overheads.
Comparison with Competitors
When comparing Kasa’s smart light strips to competitors, the stand-out feature is their seamless integration with smart home systems, making it an excellent choice for those looking into integrated smart lighting. Kasa offers superior ease of installation, controlled entirely via a simple, intuitive app that allows for precise customization of brightness and color. Unlike some competitors, Kasa prioritizes energy efficiency without sacrificing performance. The product’s robust compatibility with major platforms like Alexa and Google Assistant offers a user-friendly experience, ensuring effortless control from anywhere, anytime, setting Kasa apart in the smart lighting marketplace.
Preparation for Installation
Gathering Required Tools and Materials
To ensure a smooth installation of your Kasa Smart Light Strip, gather the following essential tools and materials. You’ll need the light strip itself, a reliable power source, and a compatible mobile device with the Kasa app installed for seamless control. A pair of scissors or a utility knife is essential for cutting the strip to your desired length. Use a tape measure to accurately assess the installation area, ensuring precise placement. Cleaning supplies, such as a cloth or mild detergent, are vital for preparing surfaces, ensuring adhesive strips stick effectively. Lastly, consider using additional adhesive tape for extra security where needed.
Choosing the Right Location
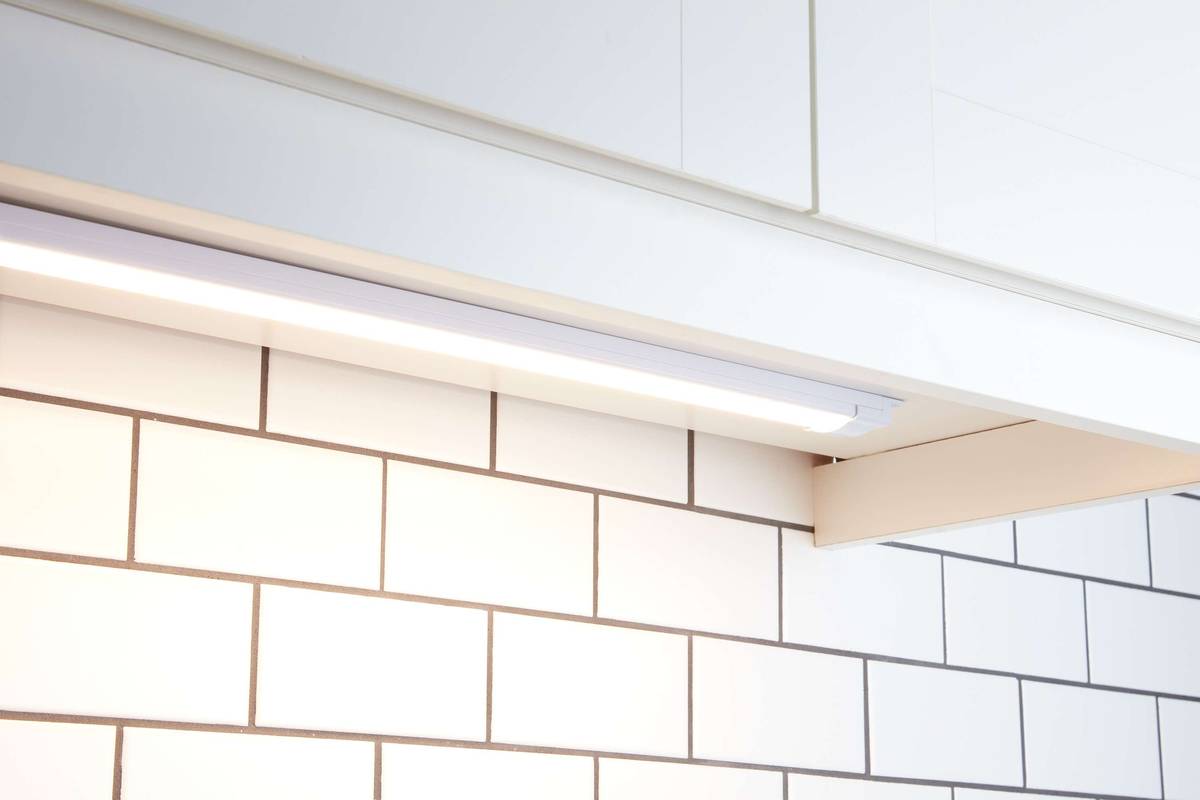
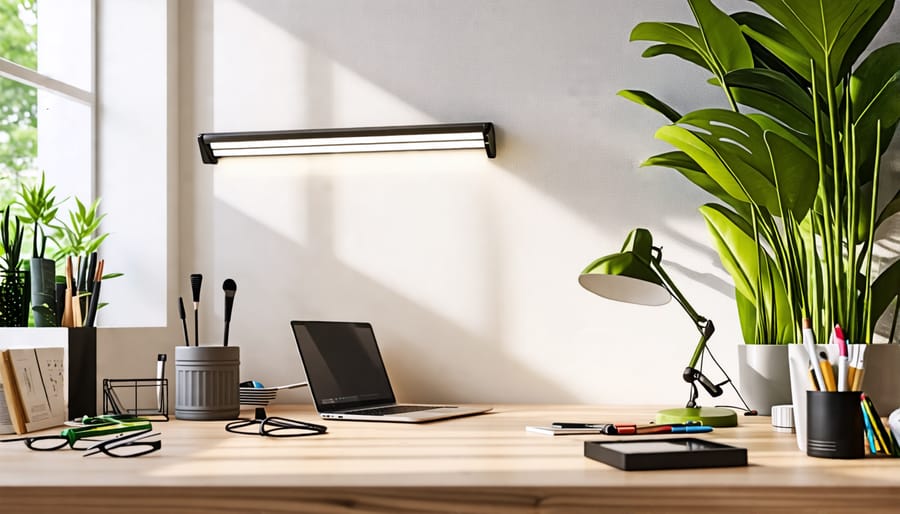
Selecting the ideal location for your Kasa Smart Light Strip is crucial for maximizing its impact. Begin by considering areas that naturally draw attention or could benefit from enhanced ambiance, such as living rooms, kitchens, or office spaces. Installing light strips under cabinets, along staircases, or around mirrors can highlight architectural features and create a warm, inviting atmosphere. For magic of smart lighting, focus on spaces where adjustable brightness and color can transform the mood, such as entertainment rooms or retail displays.
Ensure the surface is smooth and clean for optimal adhesion and connectivity. Avoid areas exposed to extreme temperatures or moisture, which may affect the strip’s performance. Additionally, consider proximity to power sources and Wi-Fi coverage to maintain seamless control and functionality. For a more personalized touch, consult with a lighting expert to tailor the installation to suit your space’s unique requirements, ensuring your light strips offer both aesthetic value and practicality.
Step-by-Step Installation Guide
Attaching Light Strips
To ensure your Kasa Smart Light Strip is securely attached and elegantly displayed, begin by carefully selecting a clean, dry, and dust-free surface. This precaution will significantly enhance the adhesive’s bonding capability. If the chosen surface is prone to dust or residue, gently wipe it with a damp cloth and allow it to dry completely before proceeding. Next, unroll the light strip and plan your layout in advance, keeping the power outlet’s location in mind to avoid any tension on the power cord.
Each light strip comes with a high-quality adhesive backing designed for long-lasting attachment. Remove the protective film from the adhesive side, ensuring not to touch the adhesive surface directly to maintain its strength. Begin at one end of your designated area, pressing the strip firmly as you go along. Applying consistent pressure while laying the strip helps achieve a more secure installation. For corners and curves, take extra care to slowly and gently bend the strip, ensuring that the internal wiring remains intact.
Should you need to make adjustments after placing the strip, carefully peel it back, as excessive reattachment could weaken the adhesive. For a more permanent solution or when adhering to challenging surfaces, consider supplementary support using mounting clips or brackets. These are particularly useful in environments with high moisture or extreme temperatures. Following these steps will ensure that your Kasa Smart Light Strip not only enhances your space with its vibrant illumination but also remains securely in place.
Connecting to Power and Wi-Fi
To power and connect your Kasa Smart Light Strip to Wi-Fi, follow these straightforward steps. First, identify an appropriate power source for your light strip. The Kasa Smart Light Strip requires a standard electrical outlet, so ensure you have one within reach. Utilize the provided power adapter by connecting it to the end of your light strip, ensuring a secure attachment to maintain steady power flow.
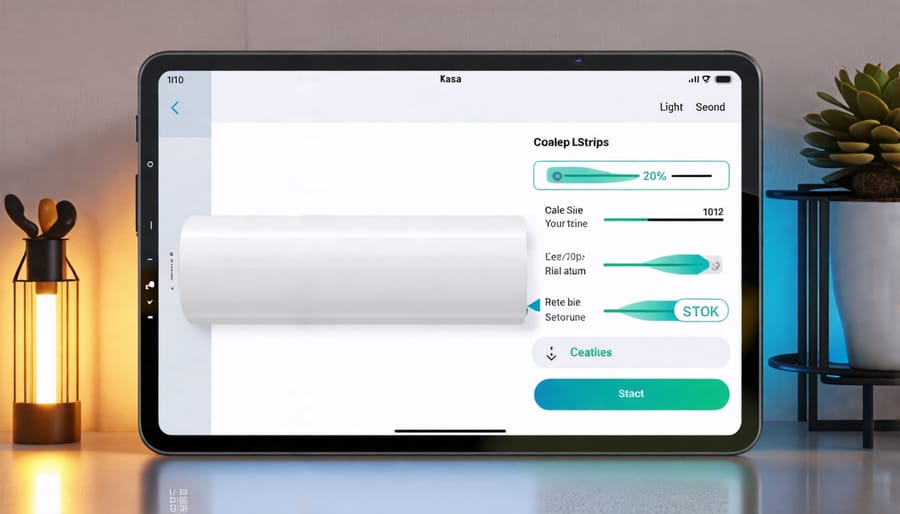
Next, it’s time to establish a Wi-Fi connection. This will unlock a wealth of customization options through the Kasa app. Begin by downloading the Kasa Smart app on your smartphone from the App Store or Google Play. After installation, create an account if you don’t already have one and log in. Follow the in-app instructions to add a new device by selecting ‘Add Device’ and then ‘Smart Light Strip.’ Ensure your phone is connected to your home Wi-Fi network and follow the prompts to connect your light strip. Ensure you’re using a 2.4 GHz Wi-Fi network, as the light strip is not compatible with 5 GHz networks.
Once connected, you can use the app to control brightness, colors, and create schedules according to your specific lighting needs. Having your light strip successfully set up opens up a world of possibilities for enhancing your space with vibrant and dynamic lighting effects.
Customization and Control
Using the Kasa App for Setup
Begin the setup of your Kasa Smart Light Strip by downloading and installing the Kasa app from the App Store or Google Play. Once installed, open the app and create an account, or log in if you already have one. On the app’s homepage, select the “+” icon to add a new device. Choose “Smart Light Strip” from the category list.
Before proceeding, ensure your light strip is plugged in and powered on. Follow the in-app instructions to connect your light strip to your Wi-Fi network. You may need your network’s name and password, so have them handy. Once connected, you’ll be prompted to name your new device, allowing for personalized control.
The Kasa app will guide you through configuring settings like brightness, color, and scheduling, enabling tailored ambiance to fit any occasion. Explore features such as voice control integration and automation for enhanced convenience. Remember, the Kasa app is your central hub for managing all Kasa devices, offering seamless integration for both residential and commercial environments.
Setting Up Scenes and Routines
Creating custom scenes and automation routines with your Kasa Smart Light Strip transforms your space by allowing you to tailor lighting to specific moods and occasions. Start by opening the Kasa Smart app and selecting the light strip. Tap on ‘Scenes’ to set up different lighting scenarios, such as ‘Relax,’ ‘Party,’ or ‘Focus.’ For automation, navigate to ‘Routines’ to schedule when lights turn on or off, adapting to your daily schedule effortlessly. These features enhance ambience, improve energy efficiency, and provide a seamless lighting experience that suits personal preferences or event-specific needs.
Troubleshooting Common Issues
Encountering issues with your Kasa Smart Light Strips can be frustrating, but common problems often have simple solutions. If your lights are not responding to commands, ensure they are properly connected to your Wi-Fi network. Check that your router is broadcasting a 2.4 GHz signal, as Kasa devices typically do not support 5 GHz networks. Additionally, verify that your smartphone’s Kasa app is up to date, as outdated apps can cause connectivity issues.
If the light strips aren’t turning on, confirm that they are securely plugged in and that the power outlet is functional. Sometimes, power cycling the light strip by unplugging it for a few seconds can resolve the issue. For installation challenges, make sure the surface for adhesion is clean and dry, and avoid installing on textured or unfinished surfaces for the best adhesion.
If you notice any color discrepancies or lighting quality issues, it may be due to an incorrect installation or a defect. Reinstall the strips to ensure they’re not twisted or bent sharply. Persistent issues might require contacting Kasa customer support for further assistance. Remember, setting up these devices correctly from the start can greatly reduce potential problems down the line, allowing you to enjoy your lighting solution effortlessly.
Conclusion
Kasa Smart Light Strips offer remarkable versatility and convenience, making them an excellent choice for enhancing both residential and commercial spaces. Their benefits include easy installation, customizable color options, and seamless integration with smart home systems, which allows users to create the perfect ambiance effortlessly. Whether you’re a homeowner aiming to add a touch of modern elegance to your living room, an interior designer working on a client’s project, or a business owner wishing to implement dynamic lighting in your establishment, these light strips provide endless possibilities. Encourage your creativity and explore the unique applications these lighting solutions offer to elevate any environment.