 donald
Here are 4 powerful tips for photographing lighting products like a pro:
- Position lights at 45-degree angles to create dramatic shadows that showcase the luminaire’s form. Use black and white V-flats to control contrast.
- Capture a “hero shot” straight-on at the fixture’s eye level to highlight its design. Ensure the product is dust-free and use a tripod for razor-sharp focus.
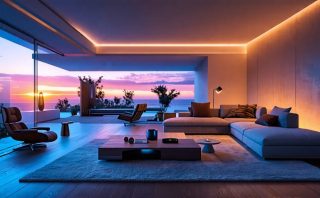
- Shoot pendant lights and chandeliers at an upward angle to emphasize their scale and grandeur. Compose the shot to include ceiling details for context.
- Edit photos using the Color Rendering Index (CRI) as a guide to ensure accurate colors. Adjust white balance and remove any color casts.
With professional equipment, careful setup, and attention to detail, you can create stunning images that make lighting products shine. Let DonsBulbs be your partner in capturing the perfect shot.
Use the Right Camera and Lens
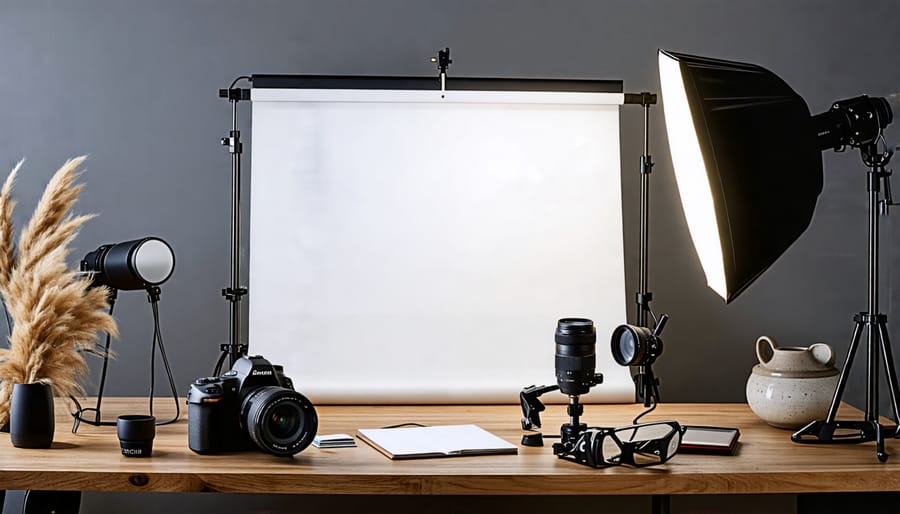
To capture the intricate details and beauty of lighting products, it’s essential to use the right camera and lens setup. A full-frame DSLR camera is ideal for this task, as it offers superior image quality, excellent low-light performance, and a wide range of compatible lenses. When selecting a lens, consider a macro lens with a focal length between 60mm and 100mm. This will allow you to focus on the finer details of the lighting fixtures while maintaining a comfortable working distance.
Aperture settings play a crucial role in photographing lighting products. A wide aperture, such as f/2.8 or f/4, will create a shallow depth of field, isolating the subject and drawing attention to specific details. This is particularly useful when highlighting intricate designs or unique features of the lighting fixtures. However, if you want to ensure that the entire product is in sharp focus, consider using a narrower aperture, such as f/8 or f/11. Experiment with different aperture settings to find the perfect balance between depth of field and overall sharpness for each lighting product you photograph.
Master Your Lighting Setup
Continuous Lighting vs. Flash
When photographing lighting products, you can choose between continuous lighting and flash. Continuous lighting provides a steady, visible light source, allowing you to see how the light falls on your subject in real-time. This makes it easier to adjust the lighting and compose your shot. However, continuous lighting can generate heat and may require higher ISO settings, potentially affecting image quality. Flash, on the other hand, offers a burst of powerful light, freezing motion and minimizing ambient light interference. It enables you to use lower ISO settings for cleaner images. Nevertheless, flash can be more challenging to control and may require trial and error to achieve the desired results. Ultimately, the choice between continuous lighting and flash depends on your specific needs, the products you’re photographing, and your personal preferences. Experimenting with both options will help you determine which works best for your lighting product photography.
Achieve Perfect White Balance
Setting the white balance correctly is crucial for achieving accurate colors in your lighting product photos. Auto white balance may not always produce the desired results, so it’s best to manually set the white balance based on the type of lighting you’re using. For incandescent bulbs, choose the tungsten or incandescent setting. If you’re using fluorescent lights, select the fluorescent option that matches the bulb’s color temperature (cool white, warm white, or daylight). When shooting with LED lights, use the daylight or custom white balance setting. To ensure precise color reproduction, take a test shot with a white or gray card and adjust the white balance until the card appears neutral. This extra step will help you capture the true colors of your lighting products, regardless of the lighting conditions.
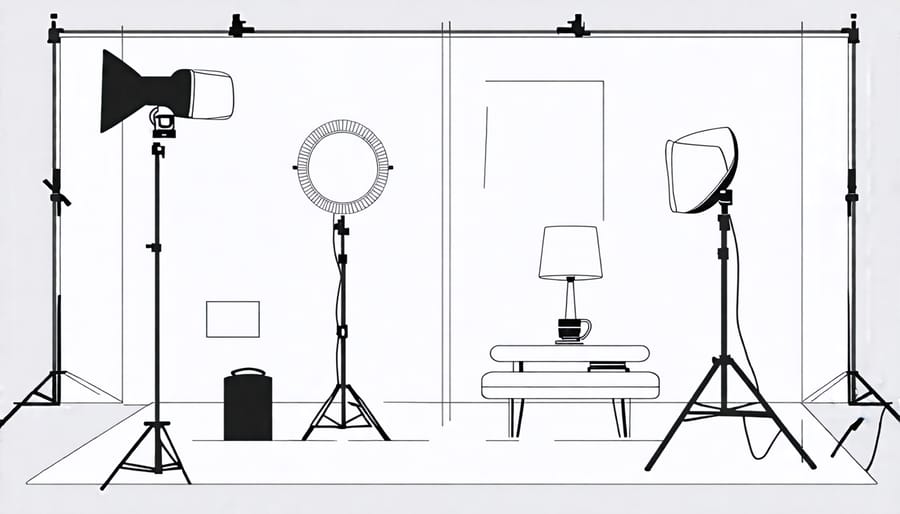
Style Your Set for Maximum Impact
When styling your set for maximum impact, consider the backdrop, props, and overall setup that best showcase your lighting products. A simple, neutral background like a white or light grey seamless paper or fabric can help the lighting fixture stand out as the focal point. For a more dramatic look, experiment with textured backgrounds like wood, brick, or marble, ensuring they complement the product’s style.
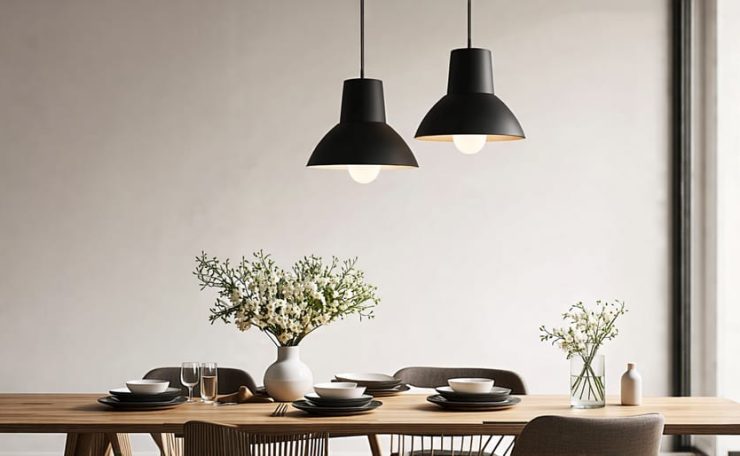
Carefully select props that enhance the lighting product’s aesthetic and functionality. For example, when photographing under cabinet lighting, include kitchen items like cutting boards, utensils, or cookbooks to create a realistic scene. When showcasing a decorative chandelier, consider adding elegant table settings, floral arrangements, or luxurious textiles to convey a sense of sophistication.
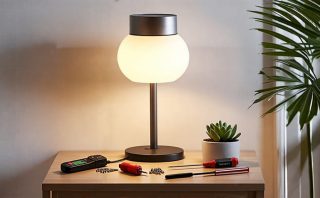
Experiment with different setups to highlight the unique features of each lighting product. For table lamps, try placing them on a side table with a stack of books or a vase of flowers to create a cozy, inviting vignette. When photographing wall sconces, position them at varying heights and angles to demonstrate their versatility and illumination effects.
Don’t be afraid to get creative with your styling, but remember to keep the focus on the lighting product itself. Progress Lighting offers a wide range of stylish and innovative lighting solutions that can be beautifully showcased with thoughtful set design. By carefully curating your backdrops, props, and setups, you’ll create images that not only highlight the product’s best features but also inspire your audience to envision how the lighting can enhance their own spaces.

Dial In Your Camera Settings
To capture stunning photographs of lighting products, it’s crucial to dial in your camera settings for optimal results. Begin by setting your camera to manual mode, giving you full control over the exposure triangle: aperture, shutter speed, and ISO. For aperture, start with a setting between f/8 and f/11, which provides a good depth of field, ensuring the entire product is in focus. Adjust the shutter speed to achieve the desired exposure – typically around 1/100th to 1/200th of a second – while keeping the camera steady to avoid blur. Set your ISO as low as possible (100-400) to minimize noise while maintaining adequate exposure.
Focus is critical for sharp, detailed images. Use single-point autofocus and aim it at the center of the lighting product. If your camera has a live view mode, enable it to zoom in and fine-tune the focus manually. For smaller products or intricate details, consider using a macro lens or a lens with close-focusing capabilities. Experiment with different angles and compositions to showcase the product’s unique features and design elements. By dialing in these camera settings and focusing techniques, you’ll be well on your way to capturing professional-quality images of lighting products.
Shoot Tethered for Instant Feedback
Tethered shooting offers instant feedback, allowing you to view images on a larger screen and make real-time adjustments to lighting, composition, and camera settings. To set up tethered shooting, connect your camera to a computer using a USB cable. Ensure your camera is in manual mode and set to shoot in RAW format for maximum editing flexibility. Use tethering software like Adobe Lightroom or Capture One to control your camera remotely and view images as they’re captured. This setup enables you to fine-tune your lighting and positioning on the fly, ensuring each shot is perfect before moving on to the next. Tethered shooting streamlines your workflow, saves time, and ultimately leads to better product images that showcase your lighting in the best possible way.
Edit for Perfection
Once you’ve captured your photos, it’s time to refine them in post-processing. Start by adjusting the brightness and contrast to ensure the lighting product stands out and the image appears vivid. If necessary, use the exposure and highlights/shadows tools to fine-tune the balance between light and dark areas. Next, sharpen the image to bring out the details and textures of the lighting fixture, but be careful not to over-sharpen, as this can create unwanted artifacts. Color correction is another crucial step – use the white balance tool to neutralize any color casts and ensure the product’s colors are accurately represented. If needed, adjust the saturation and vibrance to make the colors pop without looking unnatural. Crop the image to remove any distracting elements and create a balanced composition. Finally, consider removing any dust spots, reflections, or blemishes using the clone or healing tools for a polished, professional look. Remember, the goal is to enhance the lighting product’s appearance while maintaining a natural, realistic representation.
Conclusion
By following these essential tips for photographing lighting products, you can elevate your images to new heights and showcase your fixtures in the best possible light. Remember to invest in the right equipment, create a controlled environment, experiment with different angles and compositions, and refine your shots in post-processing. With practice and dedication, you’ll soon be capturing stunning, professional-quality photographs that highlight the unique beauty and functionality of your lighting products. Ready to take your lighting to the next level? Explore DonsBulbs’ cutting-edge smart lighting solutions and discover how our expert team can help you achieve your vision.