 donald
Turn off the power at the circuit breaker to ensure safety before you begin your lighting fixture installation. Remove the old fixture by unscrewing it and disconnecting the wires, making note of their connection points. Next, attach the mounting bracket that comes with your new fixture to the electrical box; this will support and secure your new fixture. Connect the fixture wires to the corresponding wires from your ceiling, typically matched by color, twisting them together securely and capping them with wire nuts. For a more energy-efficient choice, consider exploring LED lighting options, which can significantly enhance your space’s ambiance and lower energy consumption. Secure the fixture in place, ensuring all connections are tight, and finally, restore power at the breaker to test your installation. This method transforms your room with a personalized touch without needing professional assistance, empowering homeowners and lighting enthusiasts alike with a refined, sophisticated environment.
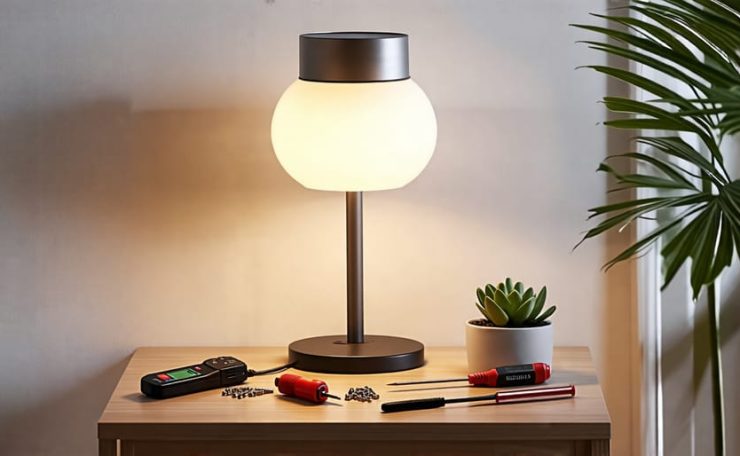
Gathering Essential Tools and Materials
Necessary Tools
To expertly install a lighting fixture, gather essential tools for a seamless process. Use a Phillips or flathead screwdriver to loosen and tighten screws. A voltage tester is crucial for safety; ensure power is off to your electrical wiring before starting. Wire strippers make handling wires easier and cleaner, allowing for precise length adjustments. Lastly, a sturdy ladder offers stable access to ceiling fixtures. These tools ensure a smooth installation while safeguarding against common electrical hazards.

Materials Checklist
Before starting the installation, ensure you have all necessary materials on hand. Gather the lighting fixture, compatible bulbs, screws, and mounting hardware specific to your fixture type. You’ll need wire connectors to secure electrical connections safely. A voltage tester is essential to verify that the circuit is off before proceeding. Don’t forget a screwdriver and possibly a drill, depending on your setup. Consider having a step ladder and protective gloves for added safety. Preparing these materials ahead of time facilitates a smoother installation process.
Safety First: Ensuring a Secure Installation
Electrical Safety Precautions
Before installing a lighting fixture, prioritize safety to prevent electrical hazards. Always turn off the power at the circuit breaker to the installation area and verify the power is off using a voltage tester. Ensure your hands and the work area are dry. Use insulated tools designed for electrical work to reduce shock risk. Familiarize yourself with the fixture’s wiring instructions, identifying your home’s existing wire colors, typically black (live), white (neutral), and green or bare (ground). If unsure about any wiring steps, consult a professional. Adhering to these precautions will help ensure a safe and successful installation.
Handling and Mounting Safety
Ensure safe handling by cutting power at the circuit breaker before starting any installation. Use a sturdy ladder, ensuring it’s well-positioned on a flat surface. Always recruit an assistant to steady tools or heavy fixtures. When mounting, confirm the fixture’s weight capacity matches that of your electrical box. If unsure, consult an electrician. Align and secure fixture brackets properly to prevent sagging or falling. Use appropriate tools, like insulated screwdrivers, to reduce shock risk. Finally, fasten connections securely but do not overtighten, as this may damage components. Check stability and alignment before restoring power.
Step-by-Step Installation Process
Removing the Old Fixture
Ensure safety first by turning off the power at the circuit breaker. Use a voltage tester to confirm the electricity is off. Next, remove the fixture’s cover or globe, unscrew any bulbs, and set them aside safely. Unscrew the fixture from the ceiling or wall, and gently lower it to expose the wiring. Carefully untwist the wire connectors, ensuring you support the fixture’s weight to avoid damaging the wires. Once disconnected, remove the fixture completely. Inspect the mounting bracket and remove it if a new one is provided with your new fixture. Keep the workspace tidy, disposing of old materials responsibly.
Preparing the Ceiling or Wall
Before installing your new lighting fixture, ensuring your ceiling or wall is properly prepared is crucial for a smooth process. Start by turning off the power at the circuit breaker to prevent any electrical hazards. Next, remove the existing fixture, carefully detaching wires and setting screws aside for reuse if suitable. Inspect the electrical box to confirm it’s securely fastened to support the weight of the new fixture. If necessary, make adjustments or replace it with a more robust, compatible model. Clean the installation area to remove any debris that could hinder a secure fit. Finally, measure the fixture’s mounting hardware against the available space to ensure a perfect fit, making any adjustments as needed to achieve an optimal installation.
Wiring the New Fixture
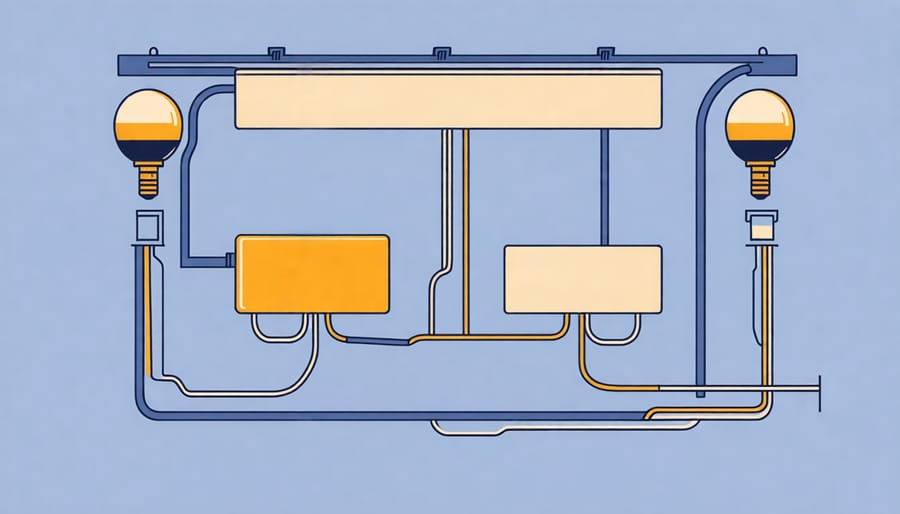
When wiring the new fixture, begin by ensuring the power is switched off at the circuit breaker to avoid any electrical hazards. Match the wires from your fixture to the corresponding wires in your ceiling or wall. Typically, you’ll connect black to black (hot), white to white (neutral), and green or bare copper to green or bare copper (ground). If your fixture includes a red wire, it often connects to the second black wire for dual-switch setups.
Use wire connectors, sometimes called wire nuts, to join the wires securely. Twist the exposed ends of the wires together, then cover them with a connector. Rotate the connector clockwise until it’s firmly attached, ensuring there are no exposed wires. Gently tug the wires to ensure a solid connection.
Tuck the wires carefully into the electrical box, providing enough space for the fixture to be mounted properly. Finally, attach the fixture to the ceiling or wall according to the manufacturer’s instructions, and double-check that all screws are tightened for stability and safety.
Mounting the Fixture
To securely mount your lighting fixture, first ensure the power is turned off at the circuit breaker to prevent any electrical hazards. Carefully follow the manufacturer’s guidelines provided with your fixture for the most accurate installation. Begin by securely attaching the mounting bracket to the electrical box in the ceiling, ensuring it is level and tightly fastened with screws. This bracket serves as the main support for your fixture and should carry its weight without strain. Next, connect the fixture’s wires to the corresponding wires in your electrical box—typically color-coded for ease of installation. Use wire connectors to secure these connections, preventing any loose wires that can disrupt functionality. Gently tuck the connected wires into the ceiling box, and attach the fixture to the mounting bracket following the manufacturer’s specified method, which often involves aligning screws or slots. Ensure everything is tightly secured to avoid any future wobbling or misalignment. Finally, restore power and test the fixture for proper operation, giving you peace of mind and brilliant lighting.
Final Adjustments and Testing
Once the lighting fixture is securely attached, make final adjustments to ensure alignment and aesthetics. Gently rotate and tighten any adjustable components so the fixture is level and visually balanced. Turn on the power and test the fixture to confirm proper functionality. Check for flickering or irregular lighting patterns; these could indicate a connection issue. If problems arise, double-check all wire connections and that the bulbs are firmly in place. Consider swapping bulbs to rule out any defects. By following these steps, you can confidently install a lighting fixture that enhances your space’s design and functionality.
Personalizing Your Installation
Decorative Enhancements
Enhancing your lighting fixture with decorative elements can significantly elevate your space. Consider using dimmable bulbs to tailor the ambiance to your mood and occasion. Adding sophisticated shades or decorative bulbs brings an artistic flair, matching your interior’s style. For a touch of elegance, incorporate hanging crystals or sleek metal accents. Embrace a cohesive look by selecting fixtures that complement your color scheme and decor theme, creating a seamless integration into your personalized design vision.
Upgrading Bulbs for Better Efficiency
Choosing the right bulbs can significantly enhance both the performance and aesthetics of your lighting fixtures. Opt for LED bulbs, known for their long lifespan and low energy consumption, to save on electricity bills while maintaining brightness. Consider styles that complement your décor, such as soft white for cozy spaces or daylight for task areas. For seamless integration, explore smart lighting options. Consult our guide on energy-efficient lighting for more choices.
Self-installing a lighting fixture represents more than just a cost-saving endeavor; it’s an empowering journey that transforms spaces into personalized havens of light. By opting to install fixtures without professional help, individuals engage with their environment, enhancing their understanding of spatial dynamics and design principles. This process fosters a sense of achievement, as homeowners, designers, and business owners can tailor lighting to fit specific aesthetic and functional needs, directly reflecting their unique tastes and preferences.
Moreover, the transformation isn’t just physical—it’s inspirational. The hands-on experience educates individuals about lighting technologies and design trends, encouraging informed decisions in future projects. Each step, from selecting the fixture to completing the installation, builds confidence, turning a daunting task into an accessible, rewarding challenge. In the end, the newly installed fixture doesn’t merely illuminate a room; it brightens one’s sense of capability and creativity, underscoring the transformative power of DIY projects in lighting design.